Try Tidyflow
Get your firm organized.
Watch a 4-minute demo, or start a free trial. No credit card required.
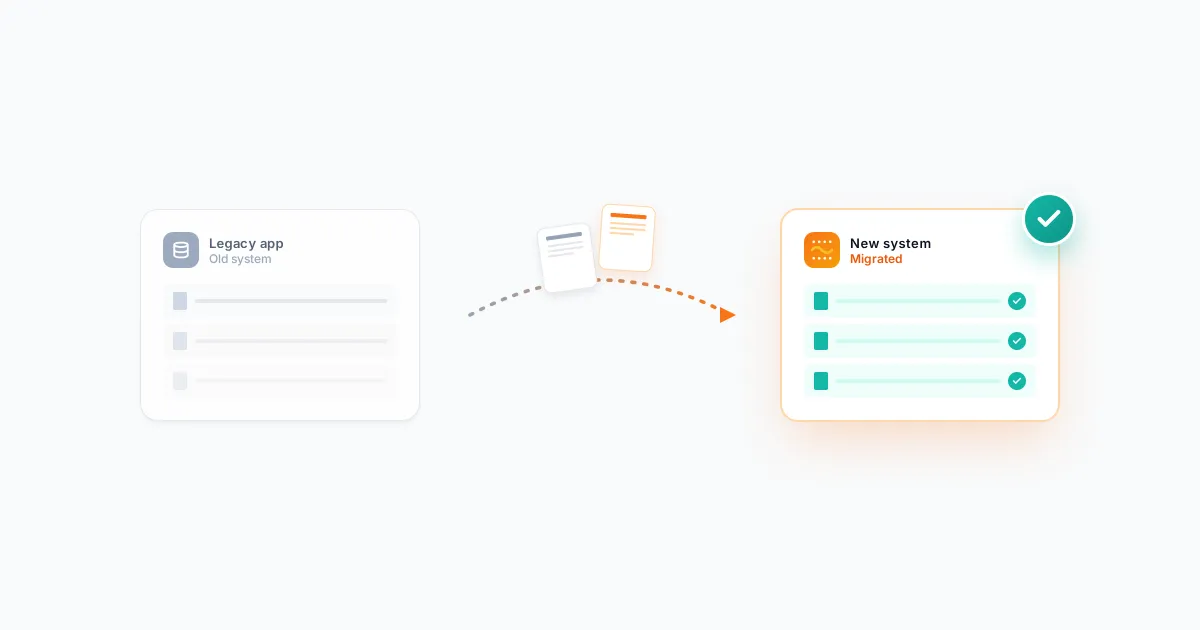
Switching practice management software is one of those tasks that feels overwhelming — which is why most firms put it off for years, even when their current tool is costing them time and money. The fear of data loss, team disruption, and the learning curve keeps you stuck on software that doesn’t serve you well.
Here’s the reality: a well-planned migration takes 2–4 weeks of effort, not months. And the productivity gains from better software pay back that investment within the first quarter.
This guide walks you through the process step by step.
Step 1: Define What You Need (Before You Shop)
Don’t start by looking at software demos. Start by listing what’s wrong with your current tool and what you need from the next one.
Questions to answer:
- What do you spend the most time on that your current tool should handle but doesn’t?
- What features do you actually use vs what you’re paying for?
- What’s your must-have list? (e.g., client portal, invoicing, capacity planning)
- What’s your budget per user per month?
- How many users need access?
- What integrations are non-negotiable? (QuickBooks Online, Xero, Stripe, etc.)
Write this down before you look at a single product page. It prevents you from being swayed by shiny features you’ll never use.
Step 2: Choose Your New Tool
With your requirements clear, evaluate 2–3 options. Don’t evaluate 10 — decision fatigue will paralyze you.
For each tool, assess:
- Does it cover your must-haves?
- How much does it cost at your team size?
- How easy is the onboarding? (Sign up for a free trial and test it yourself)
- Can you import your existing data?
- What does support look like during migration?
A common scenario: Firms switching from spreadsheets, Jetpack Workflow, or generic tools like Asana often move to purpose-built platforms like Tidyflow, Karbon, or TaxDome. The key is matching the tool to your firm’s size and needs — not picking the one with the most features.
Step 3: Plan the Migration
What Data to Migrate
Not everything needs to come over. Focus on:
Must migrate:
- Active client list (names, contact details, entity info)
- Open/in-progress jobs and their deadlines
- Recurring job schedules (monthly bookkeeping, quarterly BAS, annual returns)
- Team member list and roles
Nice to migrate:
- Document folders per client (if your new tool has document management)
- Client notes and communication history
- Invoice history (often better left in your accounting software)
Leave behind:
- Completed jobs from 2+ years ago
- Outdated client records (inactive clients you’ll never contact again)
- Old templates and workflows you’ve since improved
A migration is a great opportunity to clean house. Don’t bring clutter into your new system.
Set a Migration Timeline
| Week | Activity |
|---|---|
| 1 | Set up the new tool, configure settings, create job templates |
| 2 | Import client data, set up recurring jobs, invite team |
| 3 | Run both systems in parallel (new tool for new work, old tool for in-progress jobs) |
| 4 | Complete remaining in-progress jobs in old tool, go fully live on new tool |
Key rule: Don’t run parallel systems for more than 2 weeks. Beyond that, people revert to the old tool because it’s familiar, and the migration stalls.
Step 4: Set Up the New System
Before your team touches it, configure:
Job Templates
Create templates for every recurring service: monthly bookkeeping, quarterly BAS, annual tax return, payroll, etc. Include subtasks, time estimates, and default assignments. This is the backbone of your workflow.
Client Portal
If your new tool has a client portal, configure it before inviting clients. Set up the branding, upload your firm’s logo, and test the client experience yourself.
Invoicing
Set up your invoice template, payment terms, and payment integration (Stripe, etc.). If you’re moving to fixed-fee billing, create recurring invoices for each client.
Integrations
Connect your accounting software (QuickBooks Online or Xero), payment processor (Stripe), and any other integrations before going live.
User Accounts
Create accounts for every team member with appropriate access levels.
Step 5: Import Client Data
Most practice management tools offer CSV import for client data. Export your client list from the old tool and import it into the new one.
Check after import:
- All clients appear with correct names and contact details
- No duplicates
- Client groupings or tags are intact
If your new tool doesn’t support bulk import for the specific data you need, manual entry for 30–50 clients takes 2–3 hours. For larger client bases, ask the vendor about migration support.
Step 6: Train Your Team
Don’t just give your team login credentials and expect them to figure it out. Schedule:
A 60-minute team training session covering:
- How to navigate the new system (5 min tour)
- How to view and update their assigned jobs (10 min)
- How to create and manage client requests (10 min)
- How to log time (if applicable) (5 min)
- How to use the client portal from the firm side (10 min)
- Q&A (20 min)
Then assign homework: Each team member processes one real job through the new system before the official switchover. This builds confidence and surfaces questions before they become problems.
Step 7: Switch Over
Pick a clean start date — ideally the 1st of a month. From that date forward:
- All new jobs are created in the new system
- All client communication goes through the new system
- The old system is used only to finish in-progress work
Within 2 weeks, everything should be in the new system. Mark a “sunset date” for the old tool — after which no one uses it. Cancel the subscription the day after.
Common Migration Mistakes
Trying to replicate the old system exactly. Your old tool had quirks and workarounds. Don’t rebuild them. Adopt the new tool’s approach and let it change how you work — that’s the whole point of switching.
Migrating too much data. Importing 5 years of closed jobs and archived documents into the new system clutters it from day one. Migrate what you need, archive the rest.
Not setting a firm cutoff date. If people can keep using the old tool indefinitely, they will. Set a hard date and stick to it.
Skipping the parallel period. Going cold-turkey can work, but a 1–2 week overlap where you run both systems for different purposes reduces risk.
Not training the team. “It’s intuitive” isn’t a training plan. Even intuitive software requires guidance on your firm’s specific workflows and conventions.
Doing it during busy season. Migrate during a quiet period — not during tax season or year-end.
After the Switch
Week 1–2: Active Support
Check in with your team daily. What’s confusing? What’s slow? What’s missing? Fix issues immediately — early frustration kills adoption.
Month 1: Review and Refine
After a month, review:
- Are all recurring jobs running correctly?
- Is the team using the system consistently?
- Are clients successfully using the portal?
- Are there any workflows that need adjustment?
Month 3: Measure the Impact
Compare to your old system:
- Are deadlines being hit more consistently?
- Is time spent on admin lower?
- Are client document requests being fulfilled faster?
- Is the team happier with the workflow?
If the answer is yes across the board, the migration was worth it.
Ready to Switch?
If you’re considering a move to Tidyflow, the migration is straightforward. Most firms are fully set up and running within a week. The free trial (no credit card required) lets you configure the system and import clients before committing — so you can test the migration path with zero risk.
Start your free trial and see if Tidyflow is the right next step for your firm.