
User & Account Settings
Add your logo and customize the client portal
Add your firm logo, choose your client portal's appearance and address, and link to the portal from your website.
You can give your client portal your firm’s identity with a logo, an icon and a firm-specific address. Clients can open that address from a Client portal button on your website, sign in, and access the requests and documents you have shared with them.
You must be a workspace Owner or Admin to change these settings. The screenshots use the fictional firm Clearview Accounting.
Add your company logo and portal icon
- In the firm app, open Settings, then Client portal under Customize.
- Find Branding and click Change.
- Under Company logo, choose your firm’s logo file.
- Under Portal icon, choose a square version of your logo or another recognizable firm icon.
- Choose a Portal header style and check the Preview.
- Click Save.
The same Branding editor is available under Settings → General. Changes made in either place update the same branding.
| Image | File requirements | Where it appears |
|---|---|---|
| Company logo | PNG, JPG or GIF, up to 2 MB | Sign-in pages, the full-logo portal header, proposals and invoices |
| Portal icon | PNG or JPG, up to 2 MB; use a tightly framed square image of at least 256 × 256 pixels | Beside your firm name in the portal header, and in the browser tab |
Use a logo that remains readable at a small size. Extra blank space around the image makes the visible logo smaller. The preview shows both the portal header and browser-tab icon.
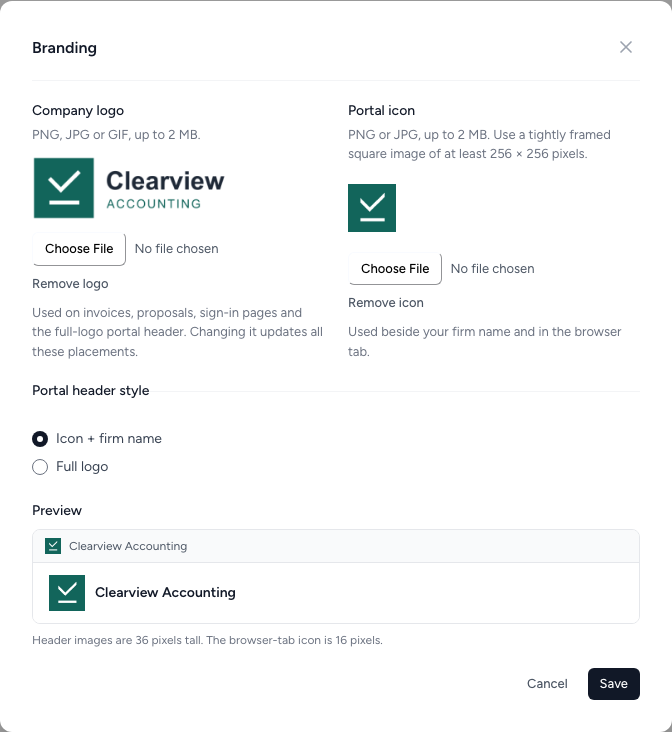
To replace an image, choose another file and click Save. To remove one, click Remove logo or Remove icon, then Save. Without a portal icon, the browser tab uses the Tidyflow icon.
Choose your client portal header
In Branding, choose between two header styles:
- Icon + firm name shows your portal icon beside your firm’s name. If no icon is uploaded, the header shows the first letter of your firm’s name.
- Full logo shows your company logo in the header. If no company logo is available, the header falls back to your firm’s name and initial.
To change the firm name beside the icon, open Settings → General, edit Name under Workspace information, and click Save changes.
The portal icon still supplies the browser-tab icon when you choose Full logo. The company logo on the sign-in page is also separate from this header choice.
Icon + firm name:

Full logo:

Choose and copy your client portal address
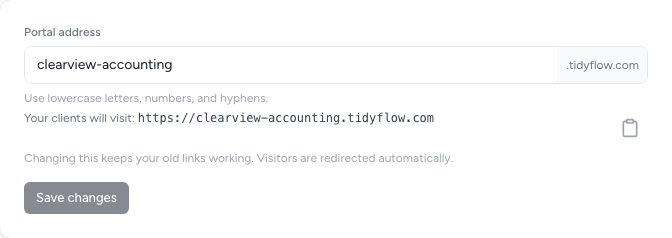
Your firm has its own Tidyflow subdomain, such as https://clearview-accounting.tidyflow.com.
- Open Settings → Client portal.
- Under Portal address, enter the name you want before
.tidyflow.com. Use lowercase letters, numbers and single hyphens. The address must be available. - If you changed the address, click Save changes.
- Click Copy portal link beside the displayed address.
Changing the portal address keeps old links working by redirecting visitors to the new address. Use the newly copied address when adding or updating a link on your website.
Link to your client portal from your website
Add a normal website link or button that opens your client portal. Your website editor controls the button’s wording, colour and placement; Tidyflow controls the portal page clients reach after clicking it.
- Copy your portal link from Settings → Client portal.
- Open your website’s editor and add a link or button, for example in the main menu.
- Label it, for example “Client portal” or “Client login”, and paste the copied address into its link field.
- Save or publish the website change, then open the button in a private browser window to check the sign-in page.
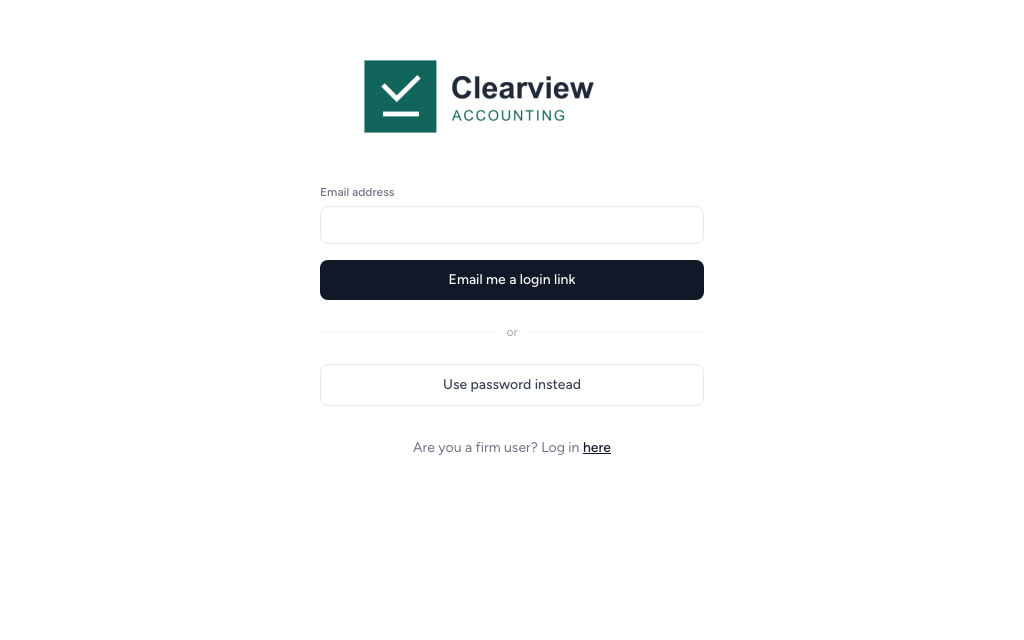
Clients arrive at your firm’s sign-in page, where they can request a login link by email or use a password. After signing in, they see the requests, shared documents and other sections available to them. You must first enable portal access for each Contact; adding a website button does not give visitors access by itself.
If you want a separate Upload documents button that accepts files without a login, use your firm upload link. That link is upload-only and does not open the client portal. See Client upload links.
What else can you customize in the client portal?
You can add shared links to the portal’s Resources page, and decide which requests, folders and billing information each contact can access. See Add links to the client portal Resources page and Enable client portal access for a Contact.
The branding controls cover your company logo, portal icon and header style. There are no settings for custom portal colours, fonts or page layouts. The portal address uses a Tidyflow subdomain; these settings do not connect a domain such as portal.yourfirm.com.
To check the signed-in experience, open Clients → Contacts, open the Contact’s three-dot menu and select Preview portal. This is available once that Contact has portal access enabled. For a guide you can share with clients, see Using the client portal.
Where your company logo appears outside the portal
Tidyflow also adds your company logo to proposal and engagement letter pages and PDFs, invoice PDFs and payment pages, and client upload-link pages. Changing the company logo updates these placements too; the portal icon does not replace it.
You do not add the logo to individual documents. The engagement letter template editor does not accept images: Tidyflow places your company logo above the letter automatically. See How to send an engagement letter.
Inside the firm app, your team sees your firm name rather than the logo. Check a client-facing page to confirm how the logo looks.
Related articles
Was this page helpful?
What went wrong?
Thanks for your feedback.
- Previous
- Reports overview
- Next
- Adding a New User
Last updated October 12, 2026